|
Exile's Guide to The Horrible Hypo of Doom (TM) This amazing explaination was sent in by Chris Doak |
|||
|
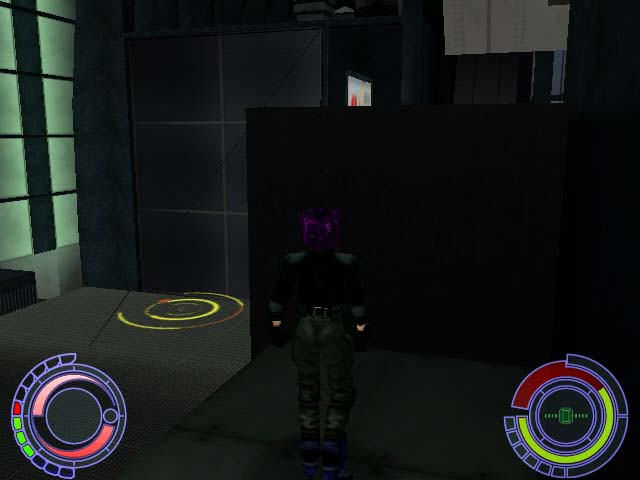
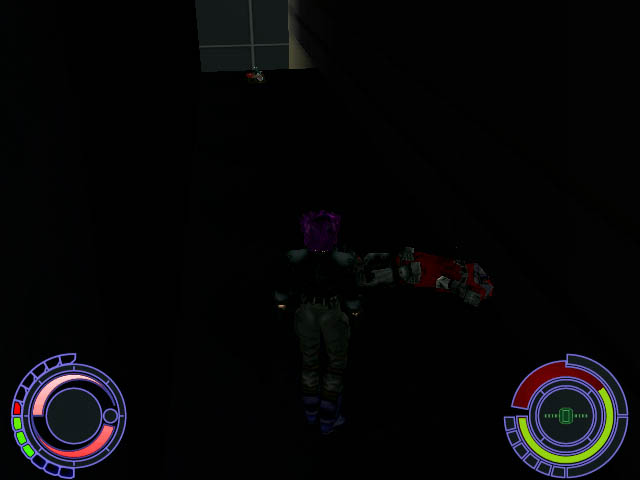
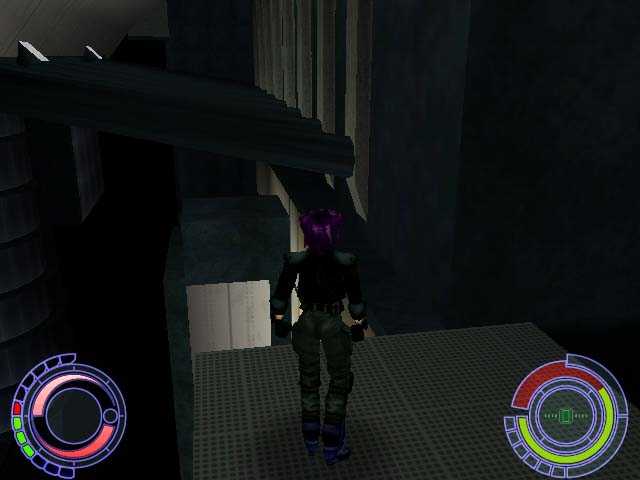
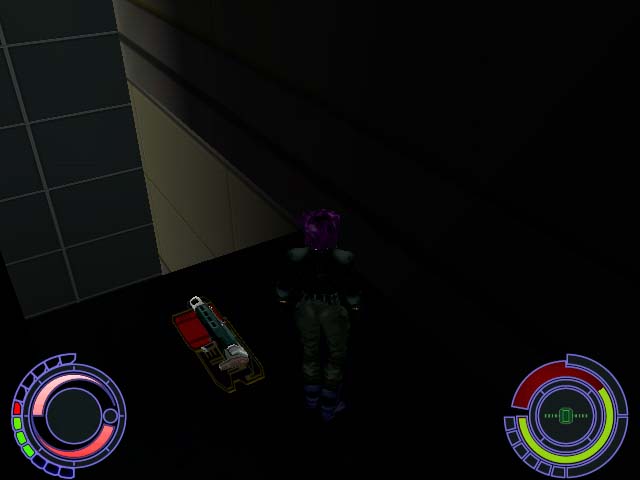
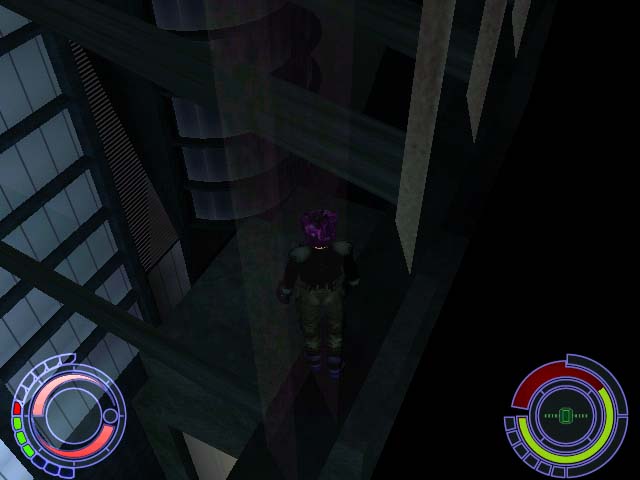
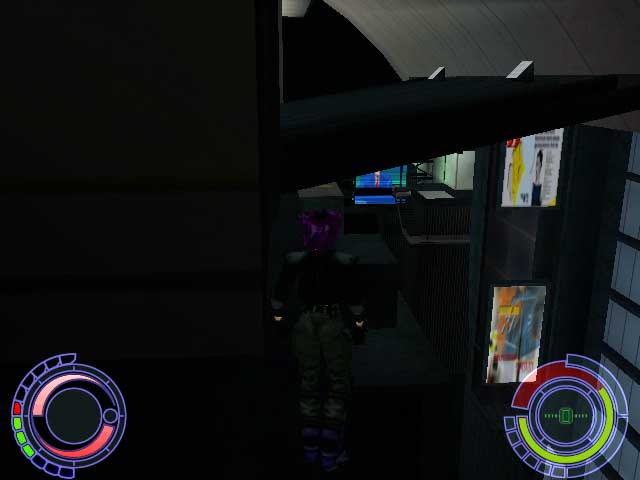
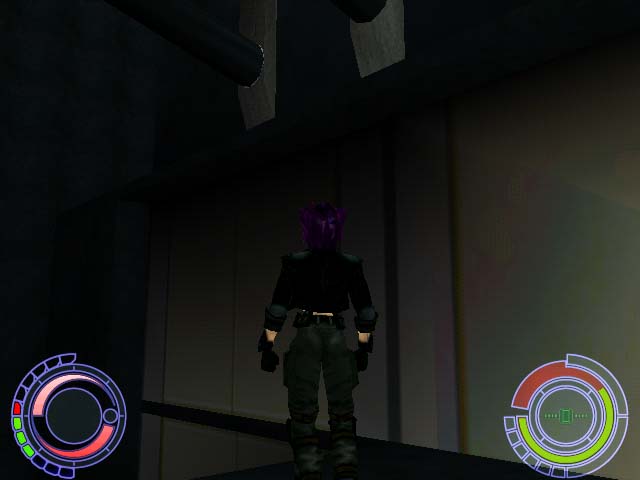
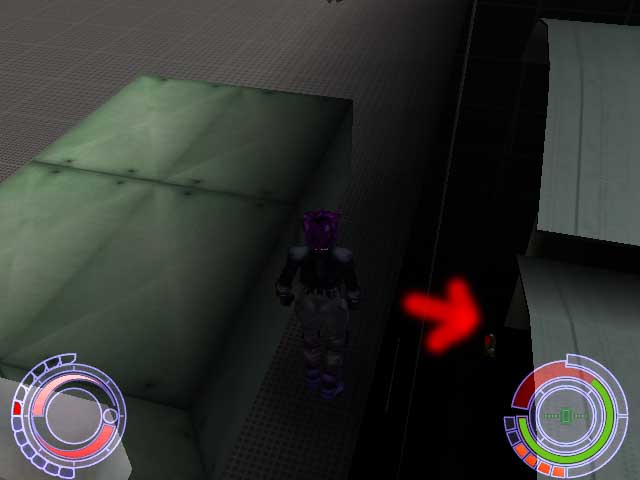
Back by popular demand, as promised last week, and for a limited time offer, here's: Exile's Guide to The Horrible Hypo of Doom (TM). I've got a couple of screen-shots, so people know how to get there. You'll need to make these expand to full size, because like the last lot they're dark, but they're also of a dark area, so in any reduced size they're just dark smudges. The good news is you might just be able read this guide without taking the afternoon off ;) Anyway, here goes: The jumping itself is really quite simple if you're good enough at certain jumps (like jumping out over a vast empty space, over a beam and then back onto a tiny ledge... a lot). But first, to get there: it's just before the third save point on the Rooftops level - when Konoko gets her own zip-line rider (A). You have to jump up on a crate to pick up the rider anyway, but instead of jumping back down to the ninja rope, turn right to look across the building (B). Now this is where things get a bit tricky. Firstly, you have to carefully walk (or make a small jump) from the crate you'restanding on to the ledge in B. Next, you have the exciting task of testing your jump-turn skills. Worse than that, you have to jump-flip out over every single beam you can see and then turn back in again. Cheaters may use Carousel for this. I personally don't think that makes it easier, as it changes the timing for everything and screws up your kinesthetic memory (er, that is, your muscles remembering when and how to move without you specifically thinking about it). Moving right along. Now, for these jumps, you won't want to be standing right up against the beam, otherwise you could find yourself stuck in it. You'll want to be standing roughly half-way between the beams on either side of you. It is possible to do these jumps from on top of the beams, but I myself have only landed on top of a beam once - needless to say when I missed the next one, that was the end of that. These beams are round, people, unless you're bang in the middle, you'll slip off. If anyone does manage to do the whole thing by jumping from beam to beam, remember to email your name and address to chrisd@globe.net.nz, so I know where to send the bomb (j/k) You'll want to do jump-flips, as I don't believe a regular jump takes you high enough. However, this time I don't think it's quite necessary to do "maximum height" jump-flips (described in my last guide). Remember to turn when you're in the air, not before, or you'll probably wind up bouncing off the nearest pillar. I couldn't take any shots of actually doing these jump-turns, as even with 'screenshot' bound to 'T', that took my attention too far away from the jump. Eventually, you should wind up being able to look down at a place to stand on (C). It has two tiers, and the Horrible Hypo Of Doom is hidden from view on the lower tier. Hop down carefully from the upper tier and collect your prize. Now from where the HHOD was, if you look up to further along the ledge (where you were headed if you hadn't jumped off), you'll see that you can go further along and maybe even around a corner (D), or perhaps just plummet to your death. I never gave it the benefit of the doubt. However, Albert "Darkk" Sacks spotted a Super Ball Gun (DA) in the deep dark ether between a couple of buildings behind a wall and asked me to check it out. Kudos Darkk, you were right! Turns out that if you continue on along the ledge, over the beams and around the corner, you get a pleasant surprise - a fresh back to break! Once the ninja's been... dealth with... (E) you get to claim your second prize of the evening (F). Finally, joy of joys, you get to trick-jump all the way back again (G). If you're like me, you'll be asking at this point "Why the hell would I want a SBG when I've faithfully kept my mercury bow all this time? The SBG isn't even instant-hit". This is all fair enough, and a line of thinking I broke only to try it out just this once. I killed Mukade in barely over a clip and never broke a sweat. You don't want to be close enough to get hurt by the cluster bombs, but if you send a high-flyer at him he'll just teleport out of there. Just remember to shoot at the ground in front of his feet from a short-to-medium distance, and watch that fucker fly! And there you have it. Another ridiculously long, yet undeniably useful guide to secrets half of you will never use anyway. But hey, it's all in the name of fun, right? Shots:
|
|||
 |
 |
||
 |
 |
||
 |
 |
||
 |
 |
||
|
Under/Outside the Airport (level 4) with NO CHEATS! This amazing explaination was sent in by Chris Doak |
|||
|
Now
I have your attention I'd like to share my wisdom with you all (or maybe
just tell you how to get outside). Now, being without cheats, this isn't
easy, I can almost guarantee you won't get it first try (or second or
third... read on). You can break this up so it makes more sense if you
like. Sorry about the shots, they're all a bit dark, you may have to tweak
the gamma. I think it's 'cos I have a voodoo2 card (no gamma adjust in
Oni). Here goes: Go to the big outside area (same as the GlassWorld method)
and cut a sharp left (after sneaking up and breaking the Striker's back,
of course (0&1)). So there you have it, a long, drawn-out, composite guide to jumping out without cheats. Join me next week for Exile's guide to The Hypo of Horrible Death (Rooftops, 11). Because, why not? ;-) [phew - bongo ;) ] |
|||
1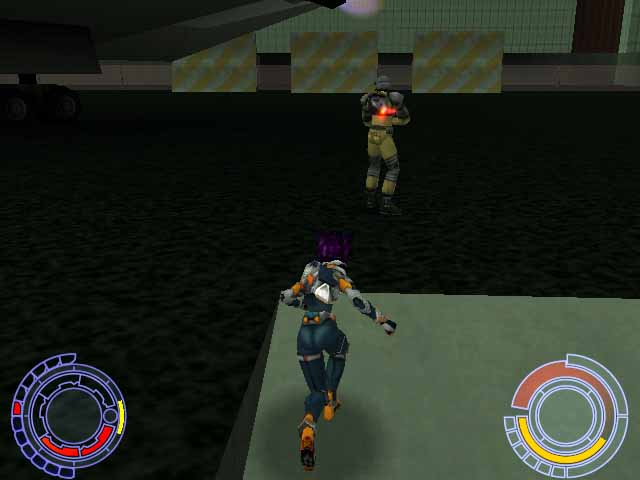 |
2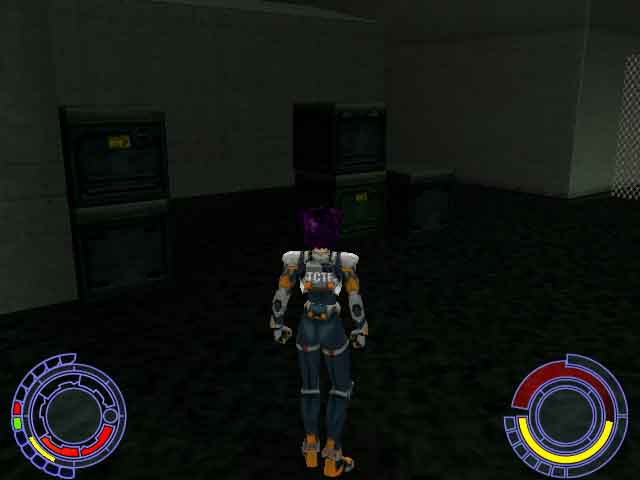 |
||
3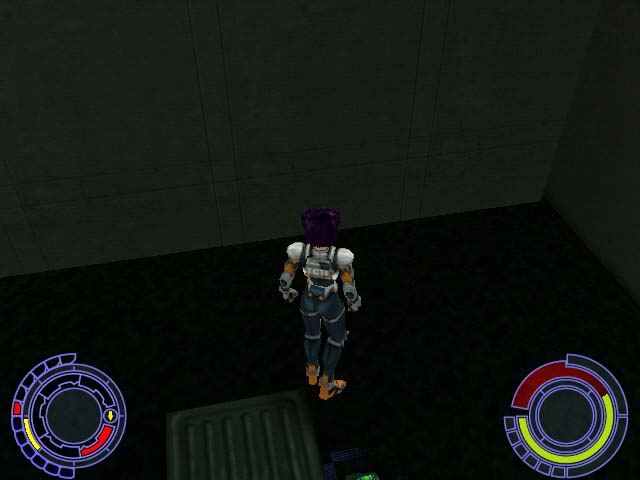 |
4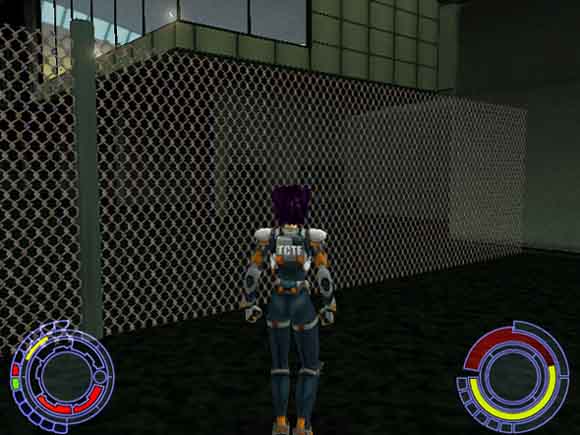 |
||
5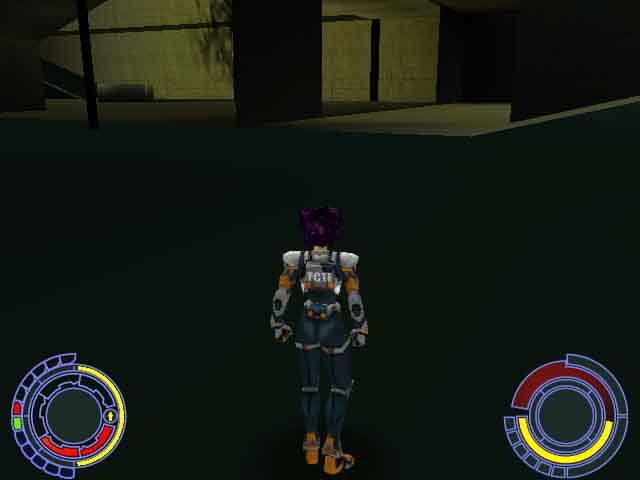 |
6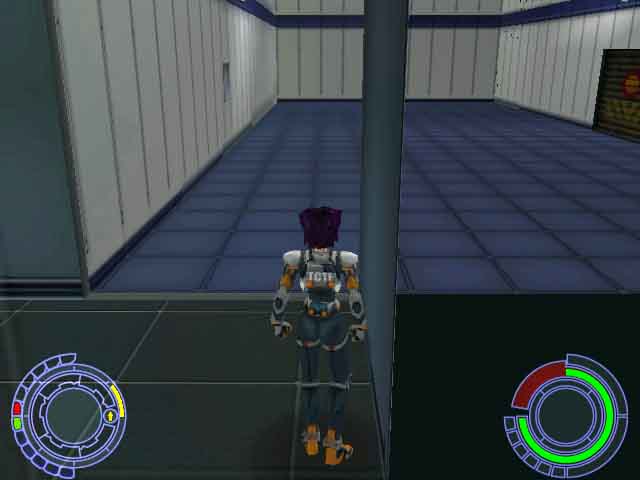 |
||
7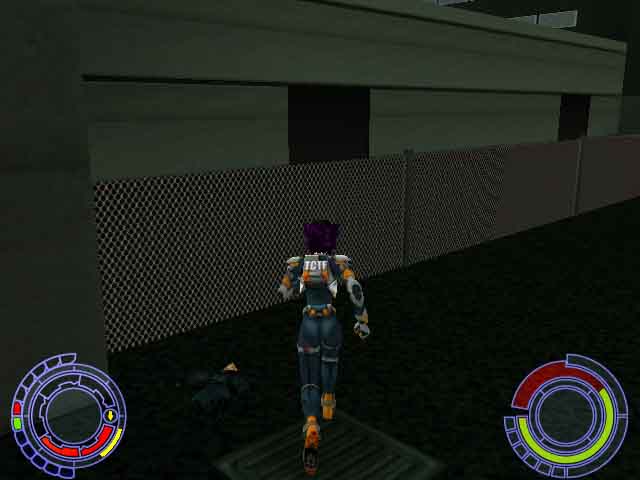 |
8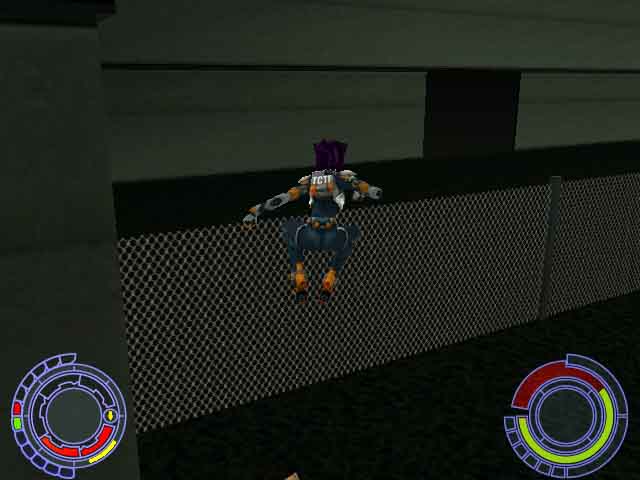 |
||
9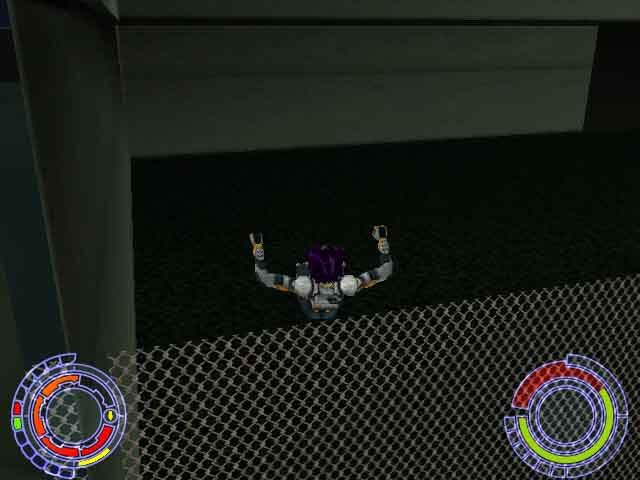 |
9a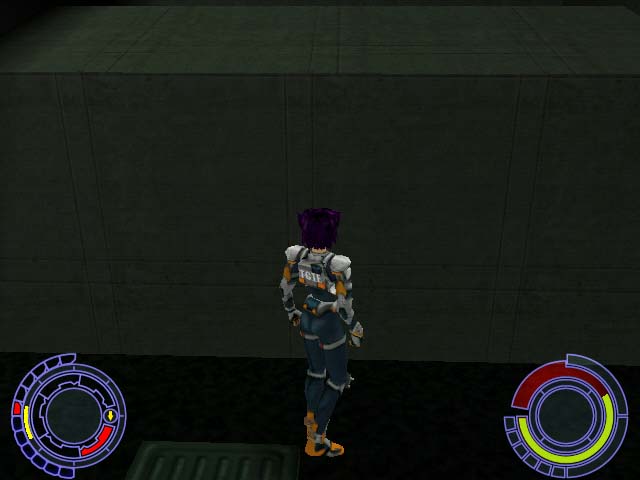 |
||
| 10 |
11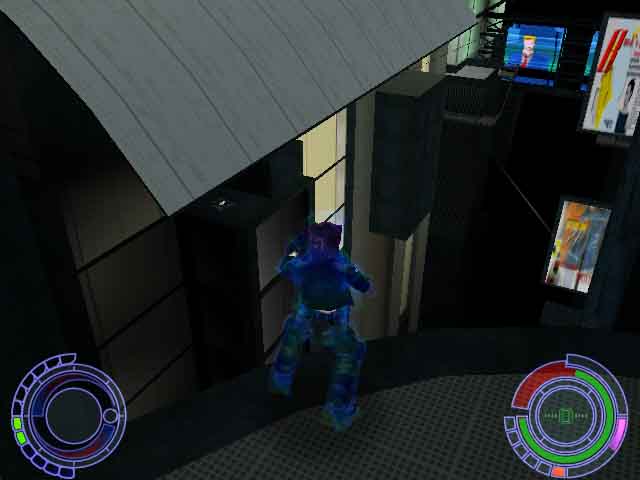 |
||
| We want your cheats and walkthroughs! 30K shots
or less to onishots@bungie.org |
|||